Managing Team Access
Team Settings lets you manage your team, invite additional users, assign roles, and update your team's profile information.
Getting to Team Settings
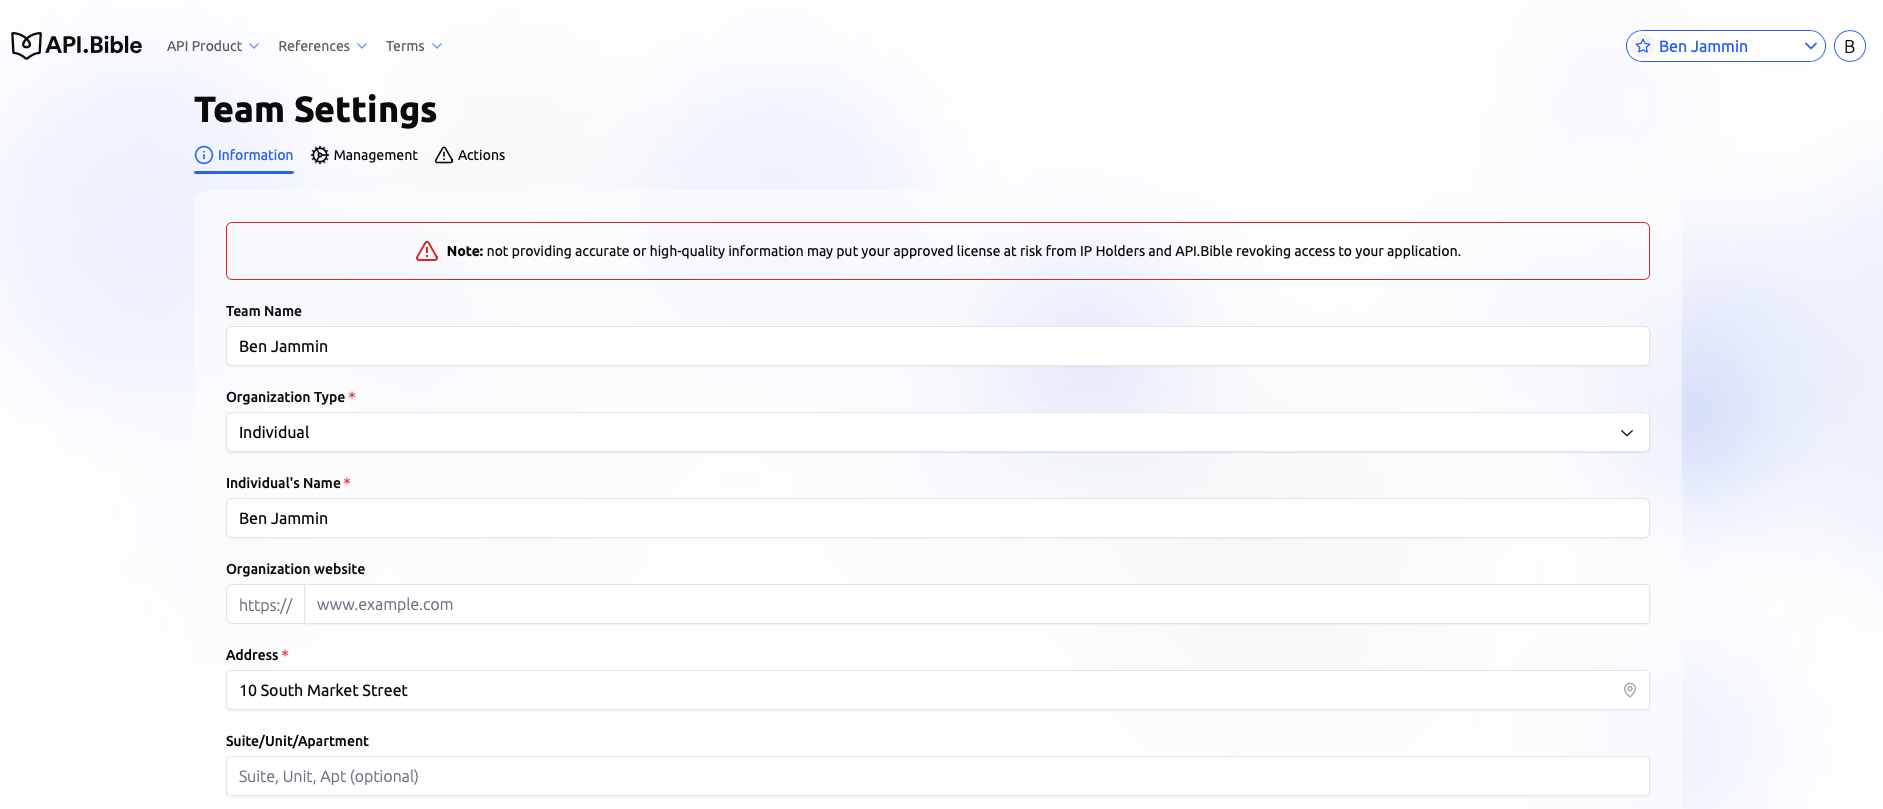
Select your account name in the top-right corner of any page, then choose Team Settings from the dropdown menu. Team Settings is organized into three tabs: Information, Management, and Actions.
Information Tab
The Information tab contains your team's profile information, including your team name, organization type, organization or individual name, website, and address.
Management Tab
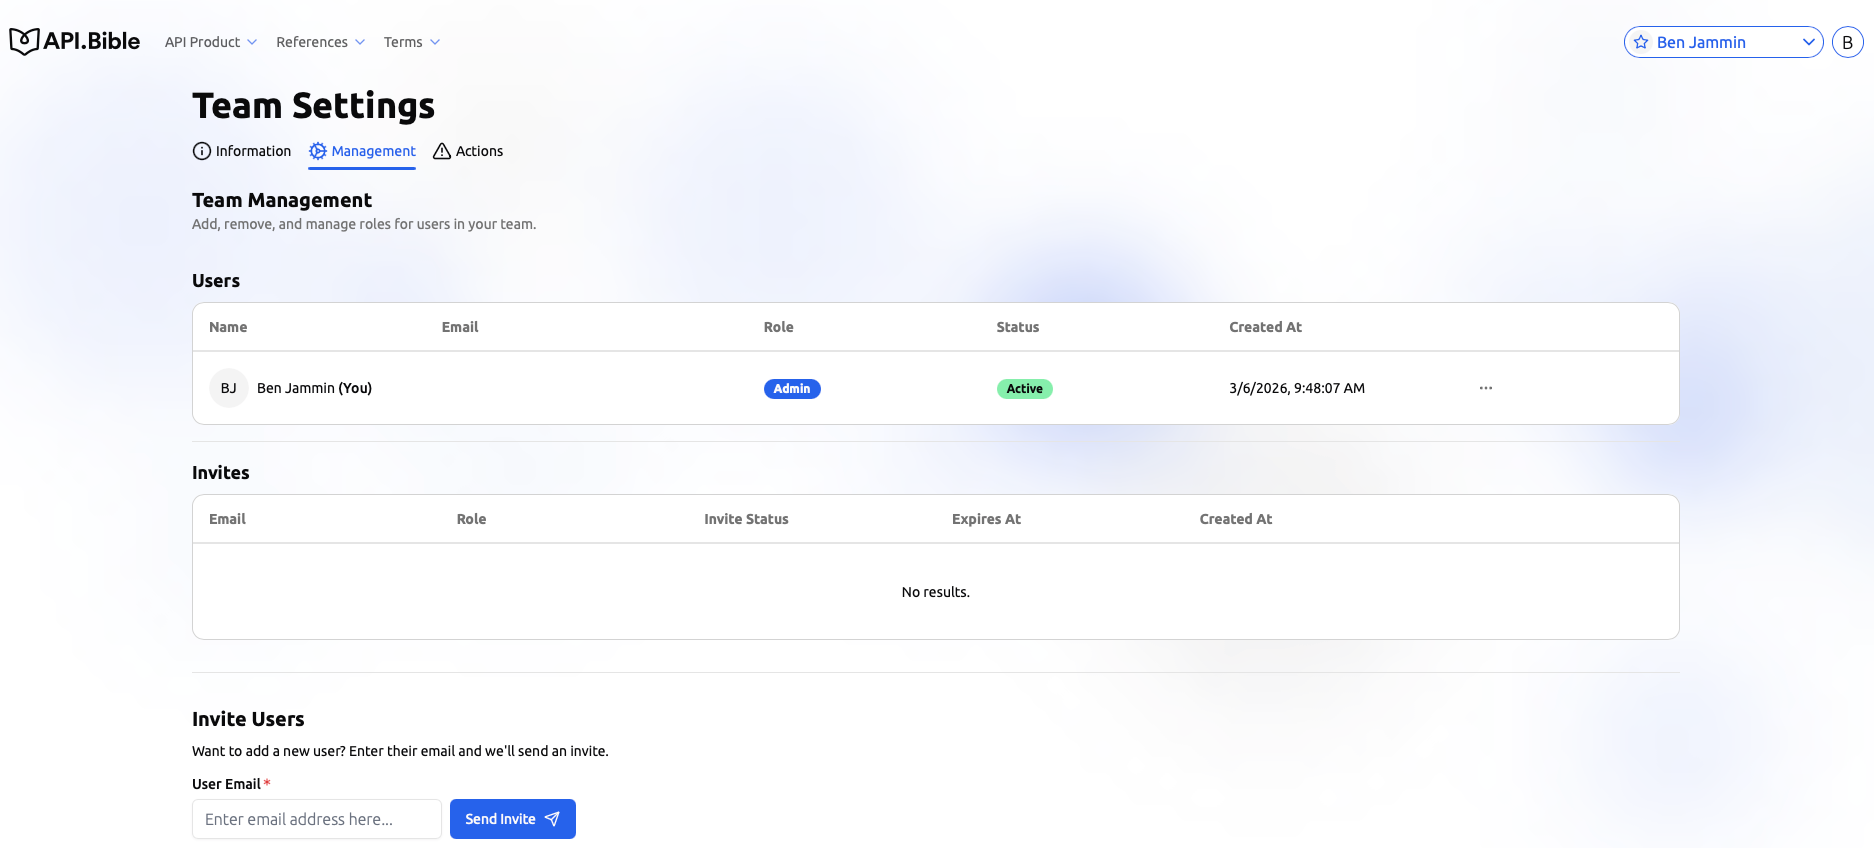
The Management tab is where you add and manage team members.
Inviting a New User
Under Invite Users, enter the new user's email address and select Send Invite. The invitation will appear in the Invites table with its status and expiry date. If the invitation expires before it is accepted, you can send a new invitation. Once the recipient accepts the invite, they will appear in the Users table.
Roles
Each team member is assigned one of two roles:
- Admin
- Full access to team settings
- Can invite users
- Can manage user roles
- Member
- Can manage their own user settings
- Cannot modify team settings
- Cannot manage apps
- Cannot upgrade plans
- Cannot add Bible licenses
- Cannot invite users
- Cannot manage roles
The account creator is automatically assigned the Admin role.
Changing a User's Role
In the Users table under the Management tab, select the options menu (...) next to the user whose role you want to change, then select Change Role. Choose Admin or Member from the dropdown and save. Changes take effect immediately.